Nescom web hosting plans includes email functionality. You can create email accounts that are customized to your own domain name. This customized email accounts can be accessed through web-based email clients and also through Apple Mail, Microsoft Outlook, or Mozilla Thunderbird.
The guide below explains how to easily create your own email accounts through cPanel.
- Login to the cPanel interface.
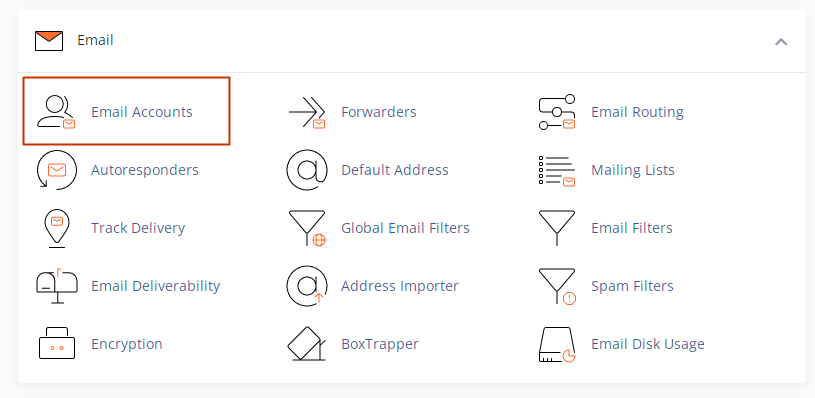
- Proceed to the Email section and click Email Accounts.
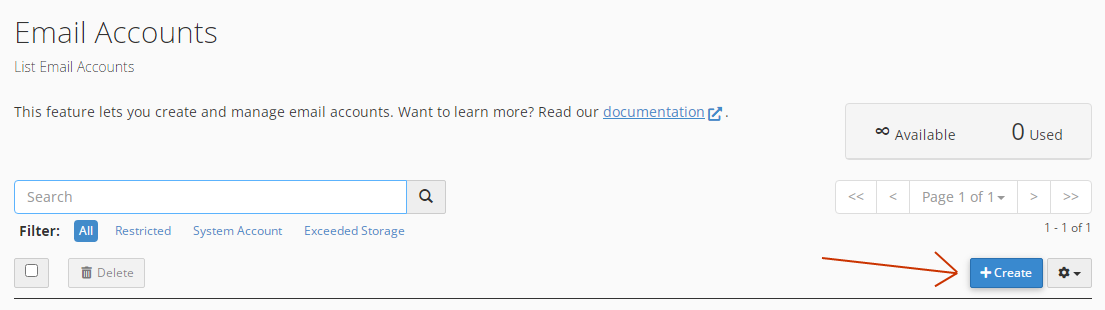
- The Email Accounts page will display the existing accounts. To create a new email account, click on the Create button as shown below.
- The Create an Email Account section will load. Fill in the required details below in order to complete the email creation process.
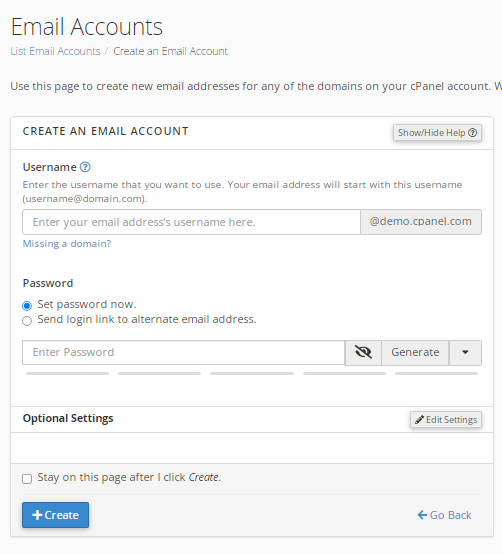
- In the Domain field, choose the domain name that you want to create your email address. In case you have other domain names in your hosting account, you can can select any of them through the drop-down menu.
- In the Username field, enter your preferred name that will act as the username of your email. For instance, if you want your email address to be “info@yourdomain.com“, type “info” in the username text box. You can use letters, numbers, underscore, hyphen and period. It should ideally be short and easy to type. Password – Enter your password that will be used to log in to the email address. A stronger password is recommended to ensure your email is not easily compromised. You can use the provided Password Generator tool to create a stronger email password.
- In the Storage space field, enter the storage limit of the email account.
- In the Automatically Create Folders for Plus Addressing field, select Do Not Automatically Create Folders.
- When you are done with the steps above, click the Create button at the bottom of the page.
That’s it. You have a new email account in the cPanel.