WHM helps hosting providers and resellers to create and manage separate cPanel accounts for their customers. The users of those independent cPanel accounts share the same server resources without knowing the existence of the other accounts. In this tutorial, we will guide you on how to create cPanel accounts for your new customers.
- Login in to the Web Host Manager (WHM) dashboard to begin this process.
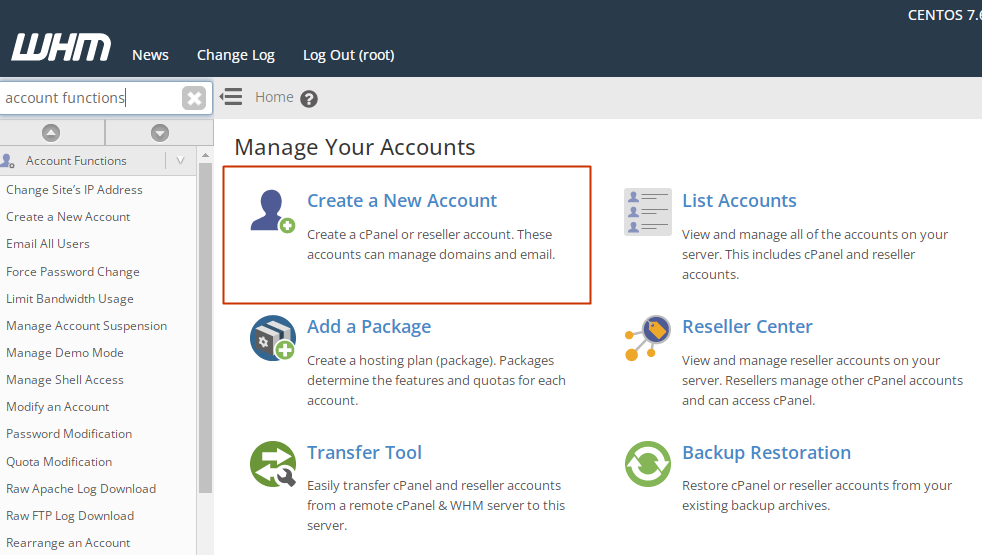
- Go to the Create a New account section in the home page shortcuts. Alternatively, you can locate this section under the Account Functions menu on the left side of the WHM interface. The illustration of this step is shown in the image below.
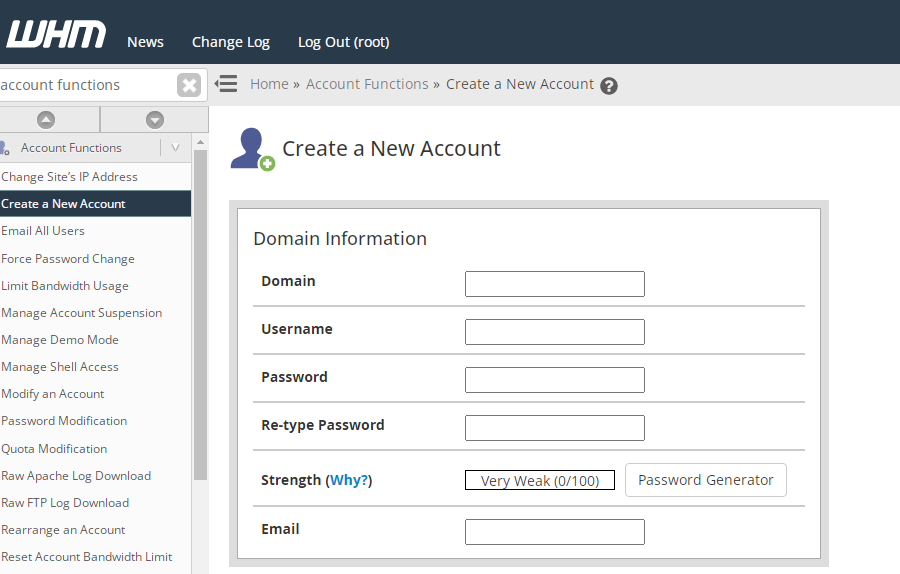
- Enter the domain information in the provided form; domain, username, password, re-type password and email.
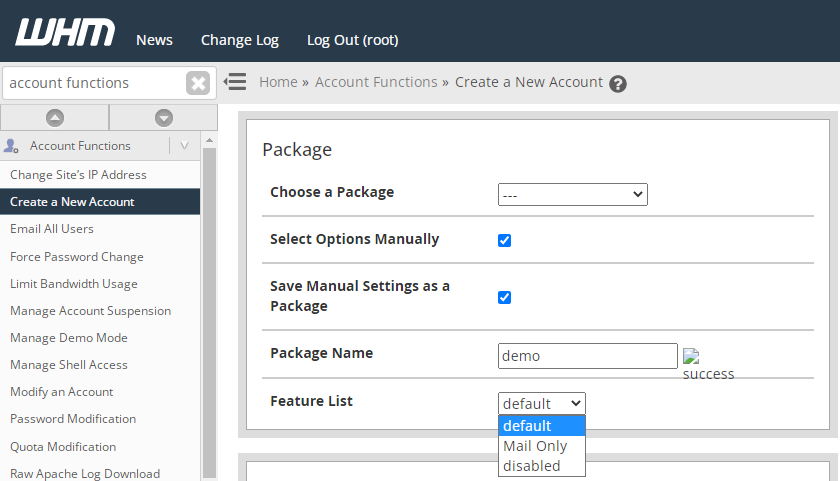
- In the Package, select the hosting package for the new account. You can also manually add a package by checking the Select Options Manually as shown below.
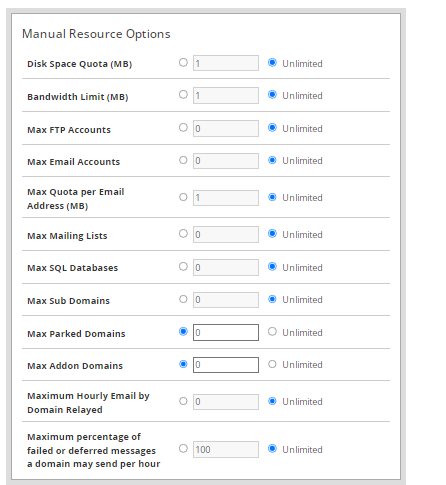
- Enter the hosting package name and select the server resource limits (such as the disk space, bandwidth, database, emails, etc) of the package in the Manual Resource Options section as shown below.
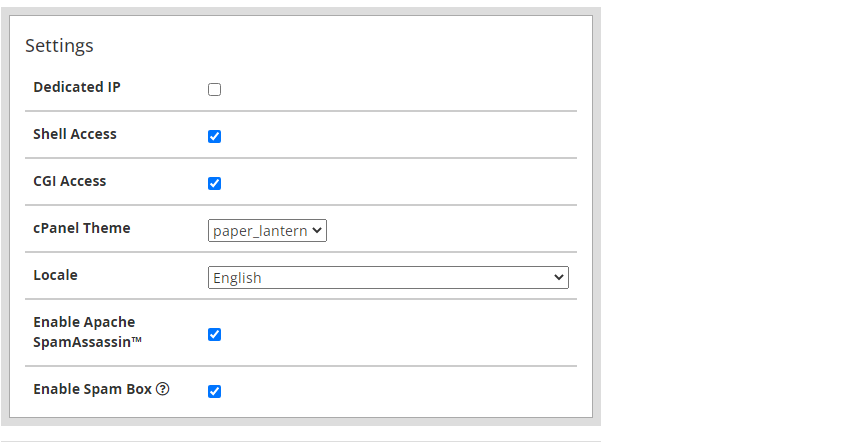
- In the Settings section, enable features such as CGI Access, cPanel theme, locale (language version), Shell Access and Dedicated IP. In a shared hosting environment, dedicated IP and Shell Access should be disabled or unchecked.
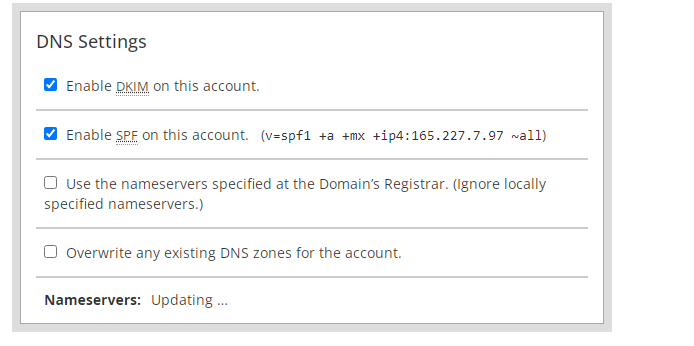
- Choose the nameservers to assign to the account and set the SPF and DKIM settings.
- Set the Mail Routing Settings to determine how the mails will be handled. There are four options here; Automatically Detect Configuration (Recommended), Local Mail Exchanger, Backup mail Exchanger and Remote Mail Exchanger.
- Having done the steps above, click on the Create button at the bottom of the page to complete this task. Your cPanel account will be automatically be set up and once done, you will see the “Account Creation Ok” notification.
If you have any question on this cPanel creation process, you can contact Nescom hosting team for further assistance.