How to log in to WHM using your Domain Name
- Open your web browser and type in your domain name followed by “/whm”. The url should be in this format: https://yourdomain.com/whm . Replace yourdomain.com with your actual domain name.
The login screen will appear as shown below:
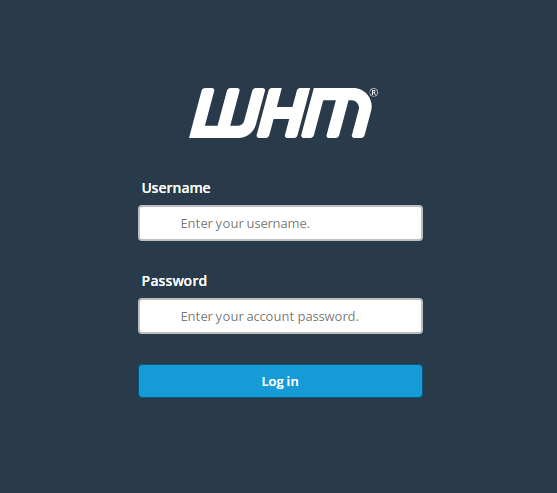
2. Enter the username and password you received from the Nescom hosting service when you signed up for the hosting account or server.
3. Click Login button to access the WHM interface.
When the WHM interface loads it will appear as shown below:
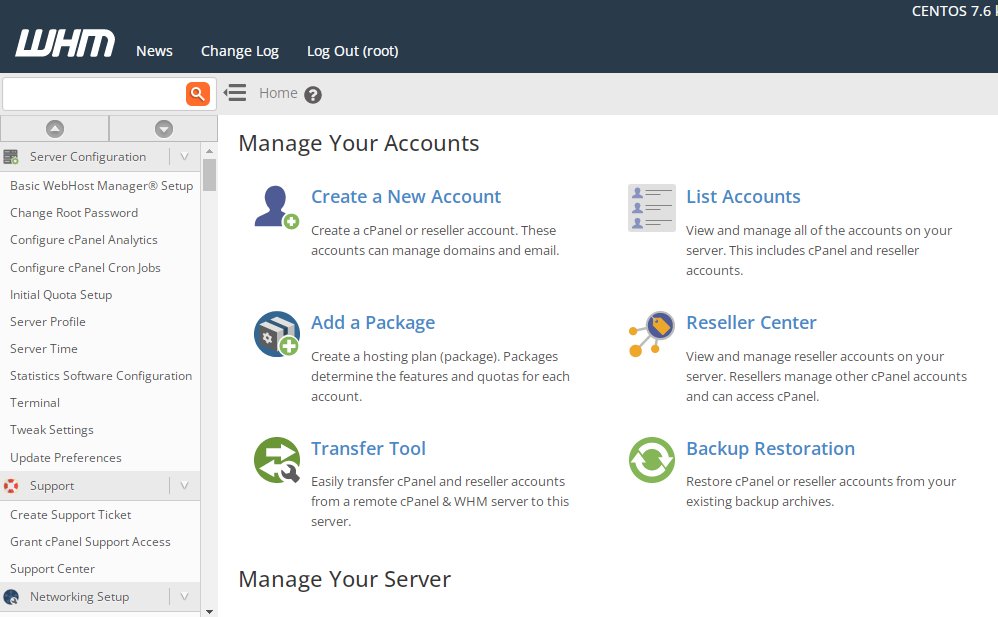
You can now manage your server by creating new cPanel accounts, configuring your hosting packages, changing server settings, etc.
You can also access the server through access ports 2087 for secure connection and 2086 for insecure connection. It is recommended to use the secure connection which is through port 2087. Enter your domain name followed by colon (:) then add the port number 2087 as shown in the format below:
https://yourdomain.com:2087
How to log in to WHM interface using server IP address
In this option, use your server ip address to log in to the WHM interface using the format below:
https://your-server-ip/whm or
https://your-server-ip:2087
Once the WHM interface loads, type in your username and password and click on the Login button.