Choose Your Method of Uploading Website Files
1. Uploading using cPanel File Manager
cPanel’s File Manager is a browser-based tool that allows you to manage the files and directories on your Nescom web hosting account. To upload file to your cPanel hosting account, follow the simple steps below:
- Login to your cPanel hosting account
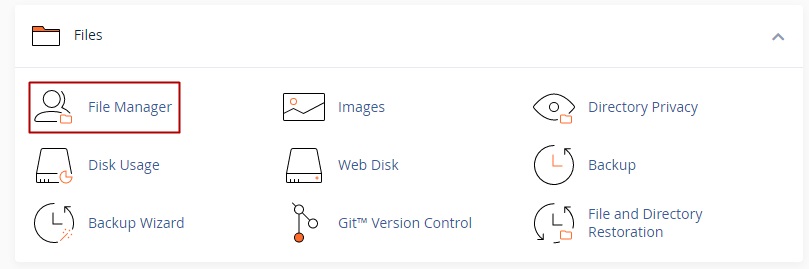
- Locate the Files section of the cPanel dashboard and click on the Files Manager icon as shown below.
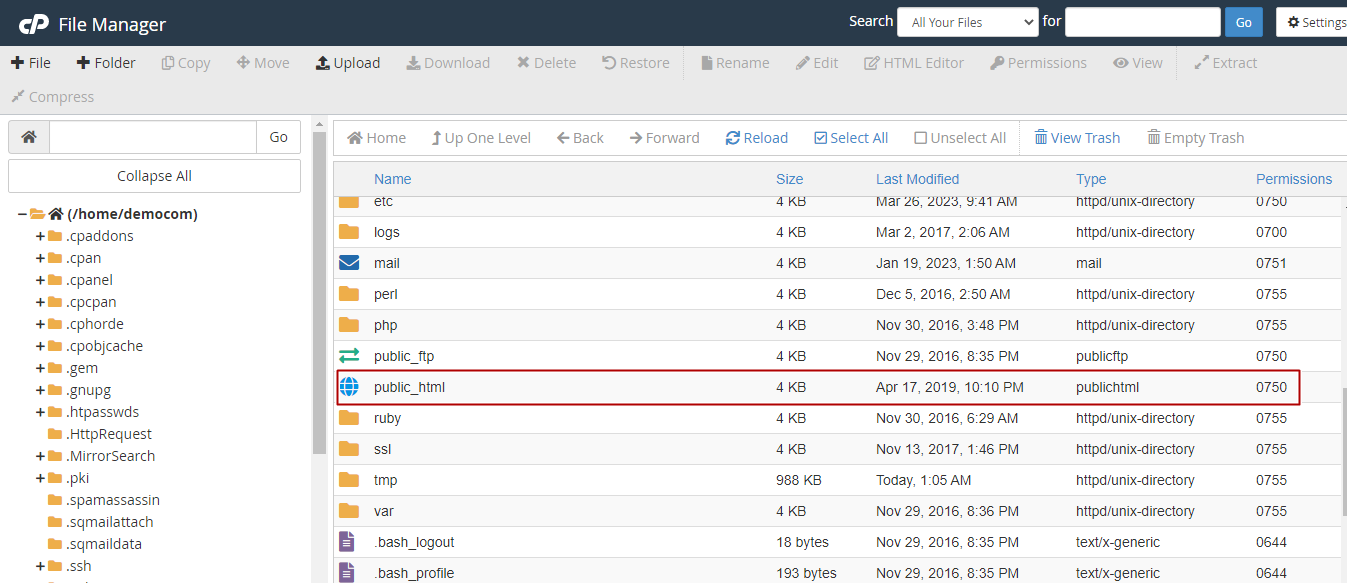
- Once the File Manager page opens, navigate and double-click on the public_html directory. This folder can easily be located from the list of directories on the right side of your screen as shown below. The public_html folder represents the web root directory for your website. This crucial folder is where you store all the files that you want to be accessible to users through the web browser. When a visitor types your website’s domain name into a web browser (for instance, http://www.yourdomainname.com), the web server retrieves the files from the public_html directory and displays them in the browser.
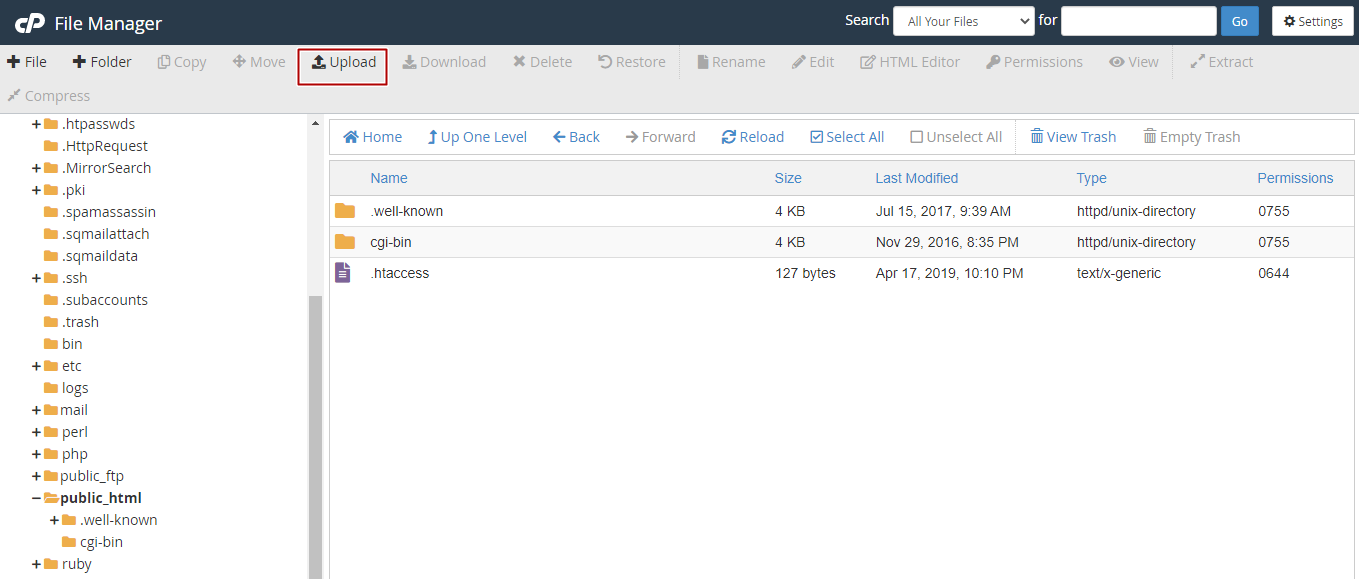
- Once you are in the public_html folder, click on the Upload icon in the top navigation menu as shown below.
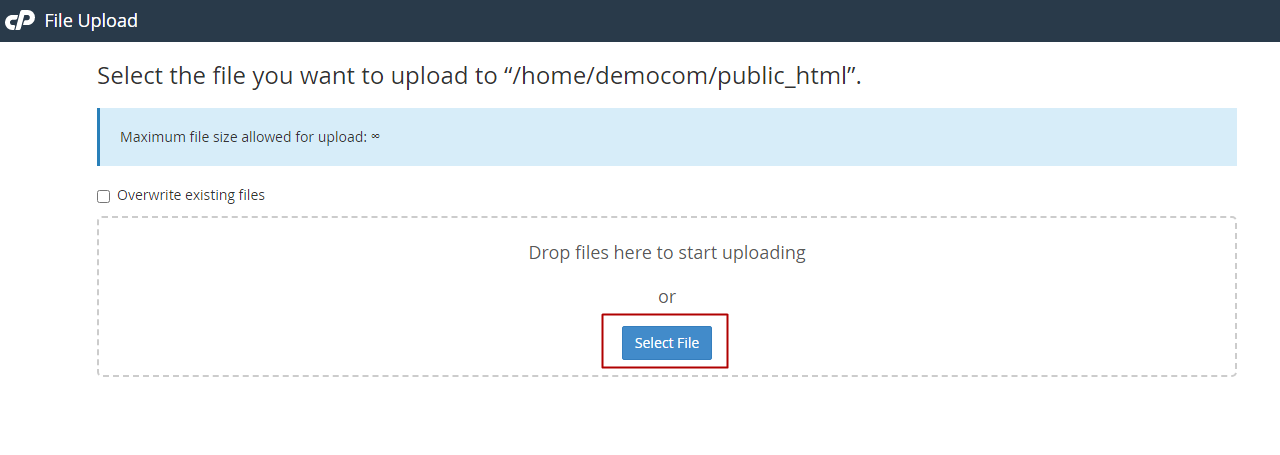
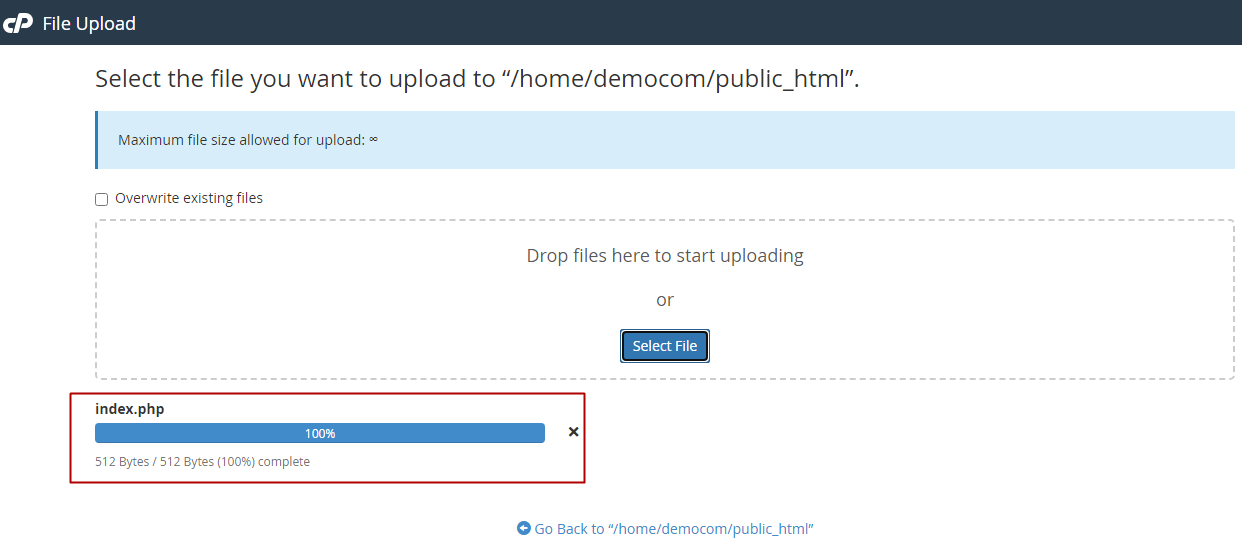
- Click on the Select File button to choose a file from your computer hard drive. You can also drag and drop the files to the “dotted section” to start uploading.
- You will be able to see the progress of the uploading process. Once the process is completed, you can view, edit, rename or view the file.
You can now view the file from the web browser.
2. Uploading using File Transfer Protocol (FTP)
Another method of uploading files to your Nescom hosting account or web server is through the File Transfer Protocol (FTP). FTP is a network protocol that allows transfer of files over the internet. FTP clients are applications installed on your local computer that connects you to a remote web server through FTP protocol and provides an environment to upload, download and manage files stored on your Nescom shared hosting account.
There are free and paid FTP clients such as Filezilla, Cyberduck, WinSCP, etc. When selecting the FTP client to use, check on the OS compatibility and also support of File Transfer Protocol Secure (FTPS) and SSH File Transfer Protocol (SFTP).
In this tutorial, we will explore uploading files to the hosting account using FileZilla client.
Using FileZilla
To accomplish the task of uploading files to your hosting account using Filezilla, you first have to download and install the application on your PC/laptop through this link. Ensure you choose the right version that is compatible with your computer Operating System and CPU (64bit or x86).
Then follow the steps below to complete the uploading process.
- Open the FileZilla client on your computer.
- Log in to the remote server or hosting account. You will need the Host Name, FTP Username and Password. The Host Name is your domain name or the IP address of your remote server. The Host Name, FTP username and password is found in the email message sent immediately after you sign up for a new web hosting plan.

- Click on the Quickconnect button to connect to the hosting account. After clicking Quickconnect, FileZilla will try to connect to the hosting account or remote server using the provided login details. If the credentials are correct, it should establish a connection.
- Once a connection has been established, you’ll see your local files on the left side of the FileZilla interface (Local Site) and the files on your hosting account on the right side (Remote Site).
- Go to the Remote Site panel and click on the public_html folder.
- You should also locate your files to be uploaded on the Local Site.
- Select the files or folders in the Local Site and right-click to upload them to the hosting account. You can also transfer files from your Local Site section to Remote Site section by dragging and dropping.
Once the files have been uploaded to the public_html folder, you can view them from the web browser.