How to Log in to cPanel Hosting Account
- 04/09/2023
- Jeff Simiyu
- Web Hosting
When you purchase a web hosting plan from Nescom, you will receive login credentials to access the cPanel. The login details consist of the cPanel username and password, FTP details, server name or IP address. Using these login credentials, users are able to access the cPanel account. The cPanel allows you to manage emails, database, website files, SSL certificates, add-on domains, etc.
There are three common ways of accessing the cPanel account.
- Log in to cPanel Directly via URL
- Log in to cPanel via IP address.
- Log in to cPanel through your web hosting provider’s client area
Log in to cPanel Directly via URL
Step 1: You can access the cPanel login page by typing or entering the following URLs in your browser’s address bar.
https://yourdomain.com/cpanel
https://yourdomain.com:2083
Note: You have to replace “yourdomain.com” above with your real domain name.
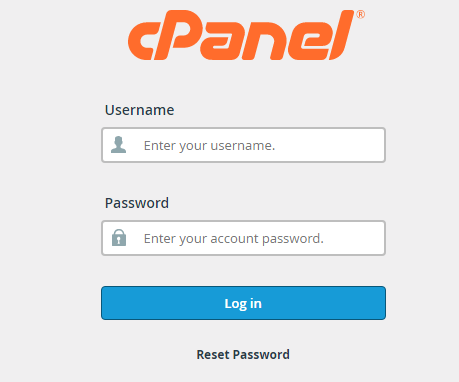
Step 2: Once the cPanel login page loads, you will be prompted to enter your username and password which you received from your web hosting provider when signing up. Then click the Login button as shown below.

It is important to note that your domain name should point to the correct DNS of your current web host for this method to work.
2. Log in to cPanel via IP address
In case the method above is problematic due to DNS issues, you can access the cPanel login page using your server IP address.
Enter the IP address in your browser followed by either “/cpanel” or “:2083” as shown below.
https://server-IP-address/cpanel
https://server-IP-address:2083
3. Log in to cPanel through your web hosting provider’s client area
You can access the cPanel dashboard through the client area by following the steps below:
- Log in to your web hosting account using your email address and password you used to sign up for the service.
- Navigate to the Services item in the top navigation menu and click on My Services page as shown in the image below.

- Select the web hosting plan corresponding to your domain name
- Select cPanel option and click on it.
- The cPanel interface will be displayed.
That is how you can log in to the cPanel hosting account easily. In case, you haven’t already bought your hosting plan, you can sign up here.