Steps to Create an Addon Domain
- Log in into the cPanel.
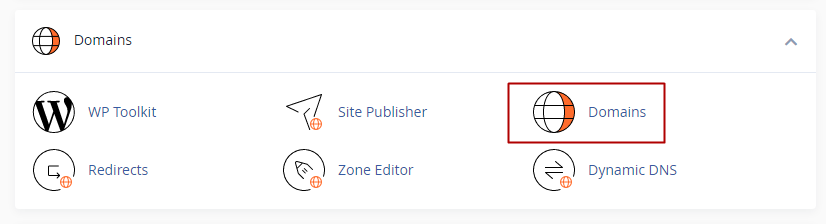
- After the cPanel dashboard loads, locate the Domains section and click on the Domains icon as shown below.
- Then click on the Create A New Domain button.
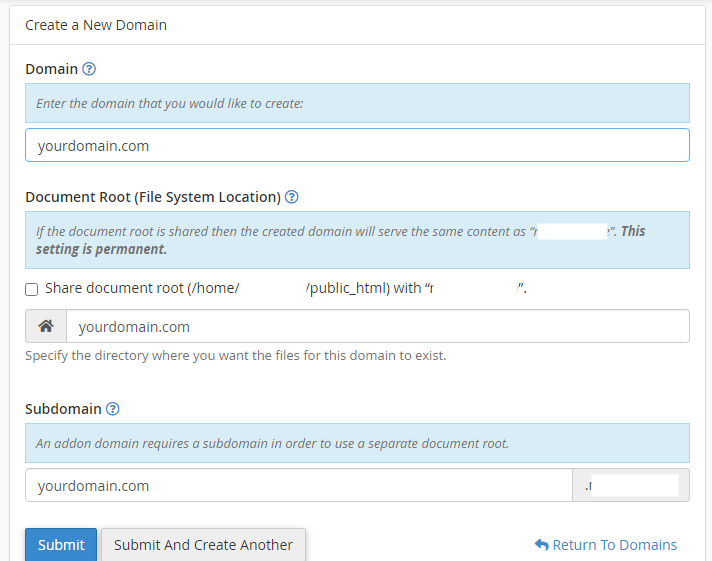
- Enter the new domain name in the field provided. The sub domain and document root are usually prefilled. However, you can customize these details if you so wish.
- Lastly, click on the Submit button at the bottom. In case of an error, it simply means this feature is not enabled on your account. You may have to contact our support team for further assistance.
That’s it. You have now created an addon domain. You can view the list of your addon domains by logging into cPanel and then clicking on the Domains icon in the Domains section.
You can add a domain name that is not registered through Nescom hosting by simply changing the nameservers for that domain name to point at Nescom Hosting.
You can delete the addon domain and also modify the document root as you may wish.
Nescom hosting offers 24/7 support for our customers through email, live chat and telephone calls. Our shared web hosting service is available with Cpanel. You can check out additional information on our shared cPanel hosting to learn more.