Website security is important in ensuring cPanel’s account files, directories, databases and hosting configurations are protected at all times. One of the several measures that website owners use to secure their hosting environment is to password protect specific directories using the “Password Protect Directories” feature. This cPanel feature enables you to set up username and password authentication for specific directories on your website. When a website visitor attempts to view the directory or folder through the browser, the cPanel system will prompt them to enter the username and password.
How Does Password Protection Work?
When you password protect a directory in cPanel, the cPanel system creates a rule in .htaccess file. The modified .htaccess rule specifies that any visitor who attempts to access the protected directory and sub folders or files under it must provide a valid username and password in order to access the files within it.
Steps on How to Add Password Protection on a Directory in cPanel
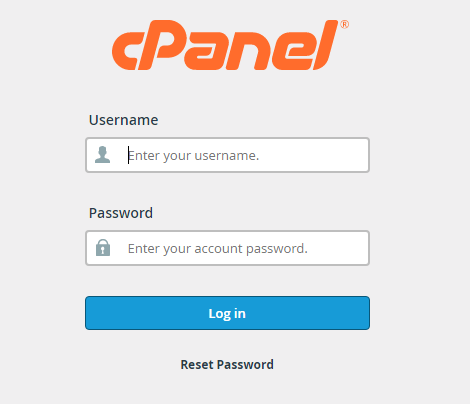
- Login to cPanel as shown below.
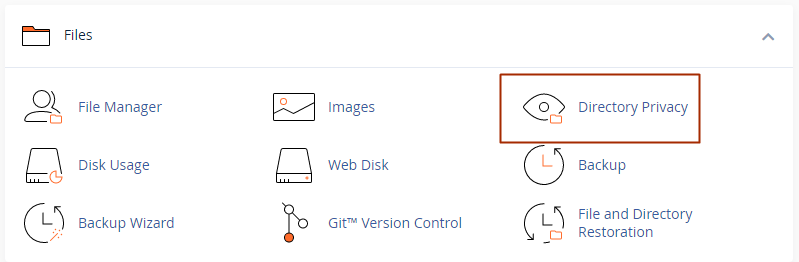
- In the cPanel dashboard, locate the Files section and click on the Directory Privacy as shown in the screenshot below.
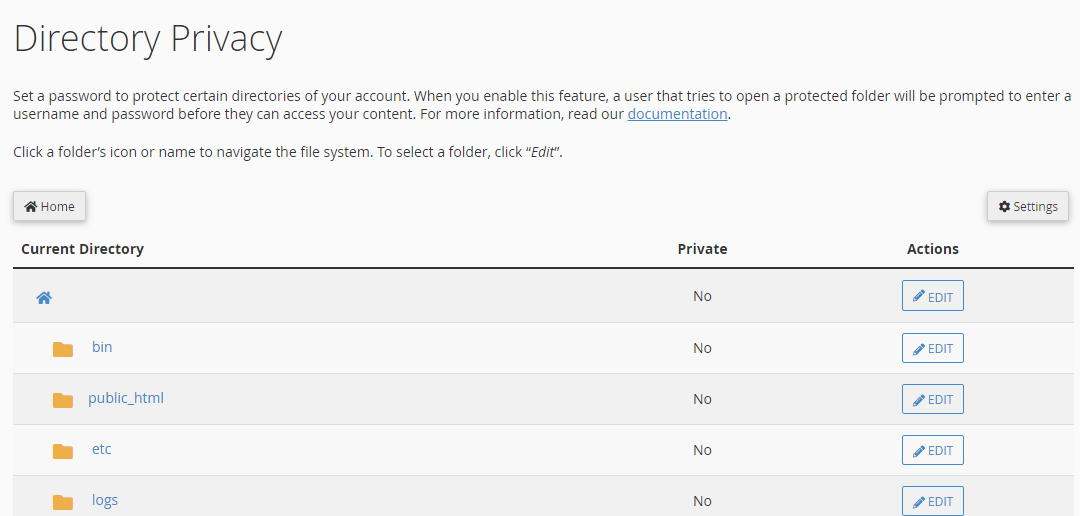
- The “Directory Privacy” page will load and you’ll be able to see a list of all directories on your website. Click the Edit button next to the directory or folder you want to protect.
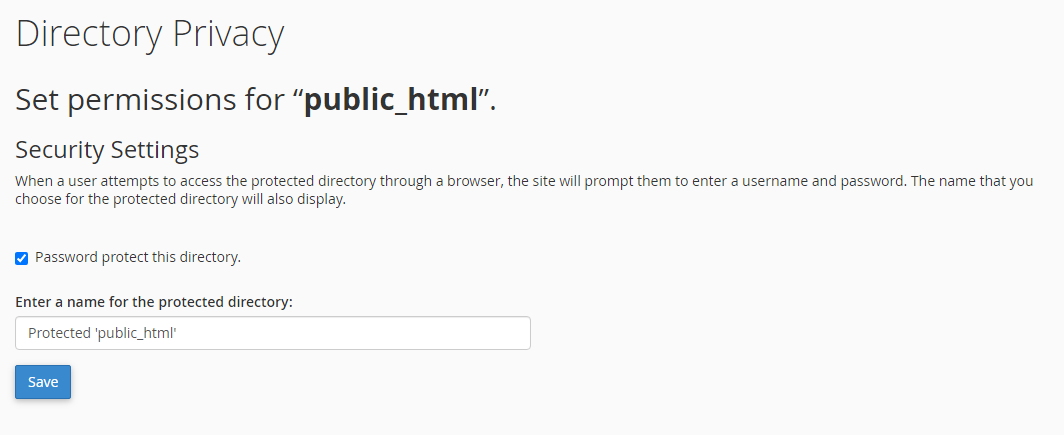
- You will be redirected to a page where you will provide the security settings for the directory you want to protect. Click the checkbox next to Password protect this directory and also provide the name of the protected directory. When a user attempts to access the protected directory from a browser, the name you enter in the Security Settings will be displayed. Click the Save button to continue.
- You will be required to create at least one user to access the directory. In order to perform this task, you need to go back to the Directory Privacy page by clicking the Go Back button. A create user section will be displayed at the lower section of the page.
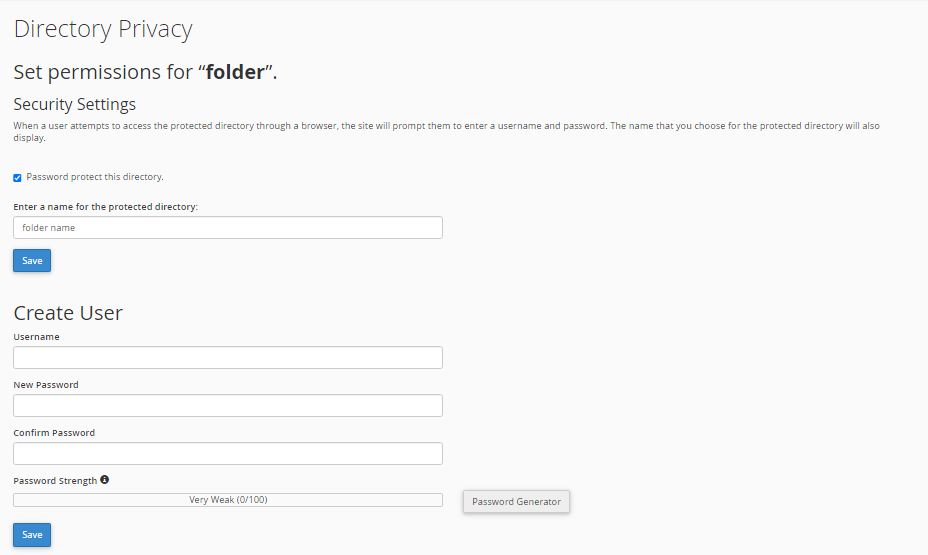
- Enter your desired username and password twice and click the Save button.
- To create additional users that will be allowed to access the protected folders, repeat step 5 and 6 above.
How to Remove Password Protection on a Directory in Cpanel
You may want to remove password protection on a folder for a variety of reasons including being ready to allow the general public to access the director and all files within it. The steps of removing password protection on a folder are given below:
- Login in to cPanel
- Locate the Files section and click on the Directory Privacy icon.
- Choose the directory you want to remove the password protection from the list of the website directories that will be displayed. The directory should have a lock symbol infront of it.
- Uncheck the box next to the “Password protect this directory“.
- Click the Save button to remove the password protection on the folder.
In case you have any additional queries on how to manage your directories and files, you can contact our customer support team through email, live chat or call us. Click here to learn more about our cPanel web hosting service.